

Changing the printing pattern on a BFS (Blow-Fill-Seal) plastic printing machine is a task that requires a combination of technical knowledge, precision, and understanding of the machine's capabilities. As a supplier of BFS plastic printing machines, I've encountered numerous customers who are eager to customize their printing patterns to meet specific product requirements. In this blog, I'll guide you through the process of changing the printing pattern on a BFS plastic printing machine, from preparation to execution.
Understanding the BFS Plastic Printing Machine
Before diving into the process of changing the printing pattern, it's essential to have a basic understanding of how a BFS plastic printing machine works. BFS technology involves three main steps: blowing a plastic preform into a bottle, filling the bottle with a product, and sealing the bottle. The printing process is integrated into this sequence, allowing for high - speed and efficient production.
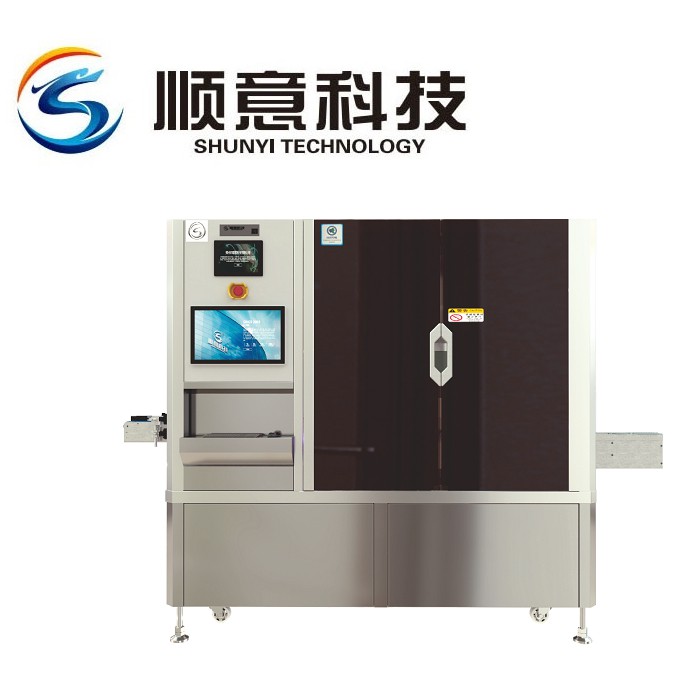
There are different types of BFS plastic printing machines available, such as the BFS Bottle Pharmaceutical Printing Machine, BFS Eye Drop Bottle Printing Machine, and Plastic Injection Bottle Printing Machine. Each machine may have specific features and requirements, but the general principles of changing the printing pattern remain similar.
Preparation
1. Design the New Printing Pattern
The first step is to design the new printing pattern. This can be done using graphic design software such as Adobe Illustrator or CorelDRAW. When designing the pattern, consider the following factors:
- Size and Dimensions: Ensure that the pattern fits within the printable area of the bottle or container. The size of the pattern should be proportional to the size of the product.
- Resolution: Use a high - resolution image to ensure clear and sharp printing. A resolution of at least 300 DPI (dots per inch) is recommended.
- Color Scheme: Select colors that are suitable for the product and the printing process. Some printing methods may have limitations on the number of colors that can be used.
2. Gather the Necessary Tools and Materials
Once the pattern is designed, gather the tools and materials required for the change. This may include:
- Printing Plates or Dies: Depending on the printing method used by the machine (e.g., flexographic, gravure), you will need the appropriate printing plates or dies. These can be ordered from a specialized manufacturer based on your design.
- Ink: Choose the right type of ink for the plastic material and the printing process. Different plastics may require different types of inks to ensure good adhesion and durability.
- Cleaning Supplies: You will need cleaning agents and tools to clean the printing components before installing the new pattern. This helps to prevent ink residue and ensure a clean print.
3. Familiarize Yourself with the Machine
Before making any changes to the machine, thoroughly read the user manual and familiarize yourself with the machine's controls and settings. Pay special attention to the sections related to the printing system, such as the printing speed, pressure, and registration.
Changing the Printing Pattern
1. Stop the Machine and Power Off
Safety is paramount when working with any industrial machine. Stop the BFS plastic printing machine and turn off the power to prevent any accidental startup during the pattern change process.
2. Remove the Existing Printing Components
Open the printing section of the machine and carefully remove the existing printing plates or dies. Follow the machine's instructions for proper removal to avoid damaging the components. Use appropriate tools to loosen any clamps or fasteners holding the plates in place.
3. Clean the Printing Area
Once the existing components are removed, clean the printing area thoroughly. Use the cleaning supplies gathered earlier to remove any ink residue, dirt, or debris from the printing rollers, cylinders, and other parts. A clean printing area is essential for achieving a high - quality print with the new pattern.
4. Install the New Printing Plates or Dies
Take the new printing plates or dies and install them in the machine. Ensure that they are properly aligned and secured. Use the machine's registration system to adjust the position of the plates so that the pattern is printed in the correct location on the bottle or container.

5. Load the Ink
Load the appropriate ink into the ink reservoir of the machine. Follow the manufacturer's instructions for ink loading, including the correct viscosity and mixing ratios if applicable.
6. Set the Printing Parameters
Adjust the printing parameters on the machine according to the requirements of the new pattern. This may include setting the printing speed, pressure, and ink flow. Make small adjustments and test print a few samples to ensure that the pattern is printed correctly.
7. Conduct Test Prints
Once the parameters are set, start the machine and conduct test prints. Print a few bottles or containers and inspect the quality of the prints. Check for any issues such as smudging, blurring, or misregistration. If problems are detected, make further adjustments to the parameters until the desired print quality is achieved.
Troubleshooting
Even with careful preparation and execution, you may encounter some issues during the pattern change process. Here are some common problems and their solutions:
- Poor Ink Adhesion: If the ink is not adhering properly to the plastic surface, check the type of ink used. It may be necessary to use a different ink or apply a primer to the plastic before printing.
- Misregistration: If the pattern is not printed in the correct location, adjust the registration settings on the machine. This may involve moving the printing plates or adjusting the conveyor speed.
- Smudging or Blurring: Smudging or blurring can be caused by incorrect ink viscosity, excessive printing pressure, or dirty printing components. Check the ink viscosity, reduce the pressure if necessary, and clean the components.
Quality Control
After successfully changing the printing pattern, conduct a thorough quality control check. Inspect a sample of the printed products to ensure that the pattern is clear, sharp, and accurately printed. Check for any defects such as ink splatters, uneven color, or missing parts of the pattern. If any issues are found, make the necessary adjustments and repeat the test prints until the quality meets the required standards.
Conclusion
Changing the printing pattern on a BFS plastic printing machine is a complex but achievable task. By following the steps outlined in this blog, you can ensure a smooth and successful pattern change. As a supplier of BFS plastic printing machines, we are committed to providing our customers with the support and resources they need to customize their printing processes.
If you are interested in learning more about our BFS plastic printing machines or need assistance with changing the printing pattern, we encourage you to contact us for a detailed discussion. Our team of experts is ready to help you optimize your printing operations and meet your specific product requirements.
References
- Manufacturer's User Manual for BFS Plastic Printing Machine
- Graphic Design Guidelines for Industrial Printing
- Ink Manufacturer's Technical Specifications